TON Blockchain for games
What’s in the tutorial
In this tutorial, we will explore how to integrate TON Blockchain into a game. As an example, we will use a Flappy Bird clone built with Phaser and gradually add GameFi features. To improve readability, we will use short code snippets and pseudocode. Additionally, we will provide links to real code blocks for better understanding. The complete implementation can be found in the demo repo.
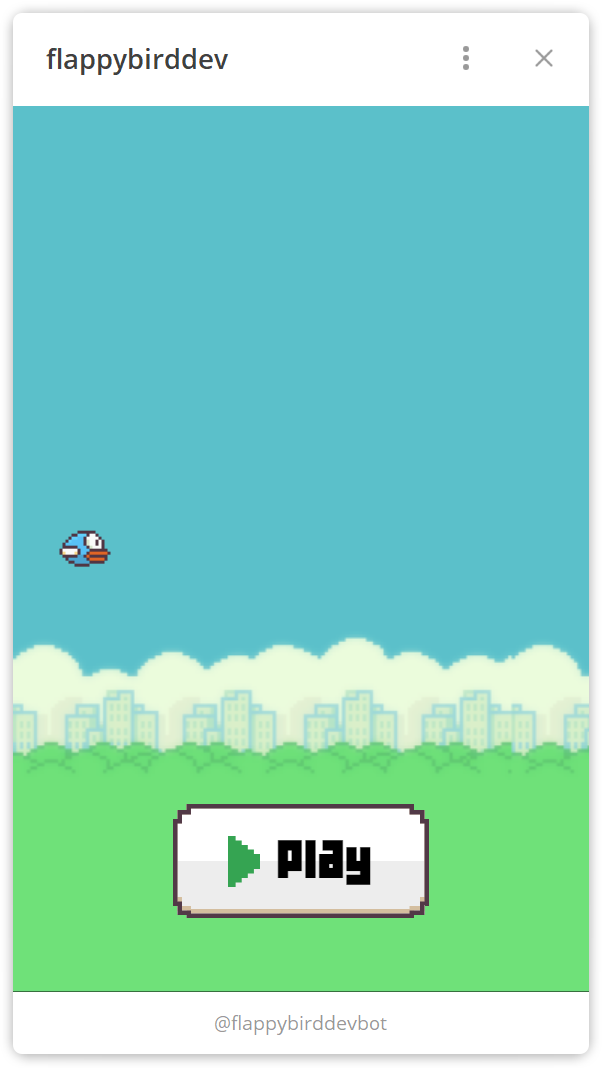
We will implement the following:
- Achievements. Let’s reward our users with SBTs. The achievement system is a great tool for increasing user engagement.
- Game currency. On the TON Blockchain, it’s easy to launch your own token (jetton). The token can be used to create an in-game economy. Our users will be able to earn game coins and spend them later.
- Game shop. We will allow users to purchase in-game items using either in-game currency or Toncoin.
Preparations
Install Assets SDK (CLI)
First, we need to set up the game environment by installing assets-sdk. This package is designed to provide developers with everything required to integrate blockchain into games. The library can be used either from the CLI or within Node.js scripts. In this tutorial, we will use the CLI approach.
npm install -g @ton-community/assets-sdk@beta
Create a master wallet
Next, we need to create a master wallet. This wallet will be used to mint jettons, collections, NFTs, and SBTs, as well as to receive payments.
assets-cli setup-env
You will be asked a few questions during the setup.
| Field | Hint |
|---|---|
| Network | Select testnet since this is a test game. |
| Type | Select highload-v2 wallet type to use as a master wallet. |
| Storage | Storage is used to hold NFT/SBT files. You can choose between Amazon S3 (centralized) or Pinata (decentralized). For this tutorial, we'll use Pinata since decentralized storage is more illustrative for a Web3 game. |
| IPFS gateway | This service loads asset metadata from pinata, ipfs.io, or a custom service URL. |
The script will output a link where you can view the created wallet's state.
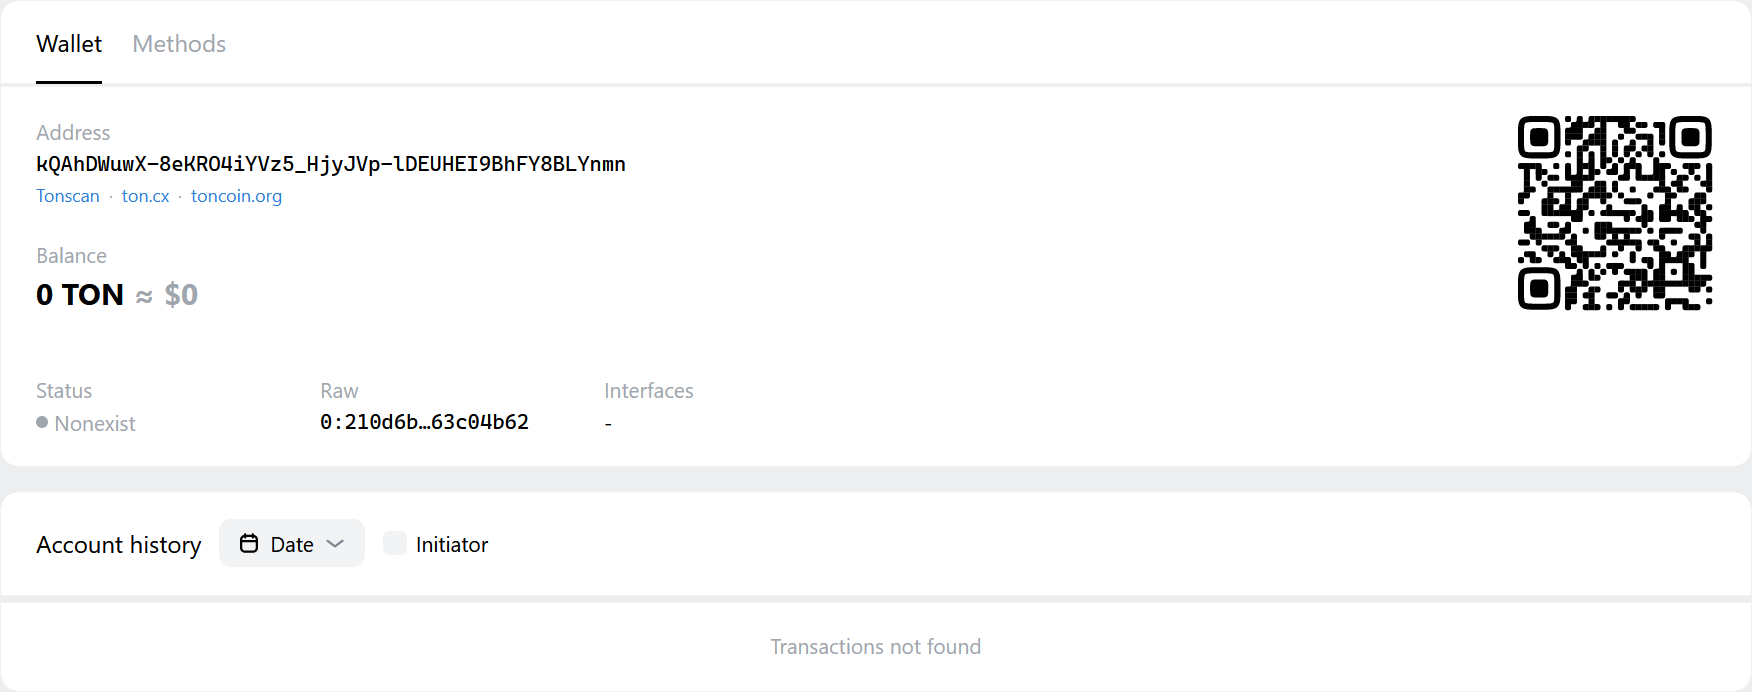
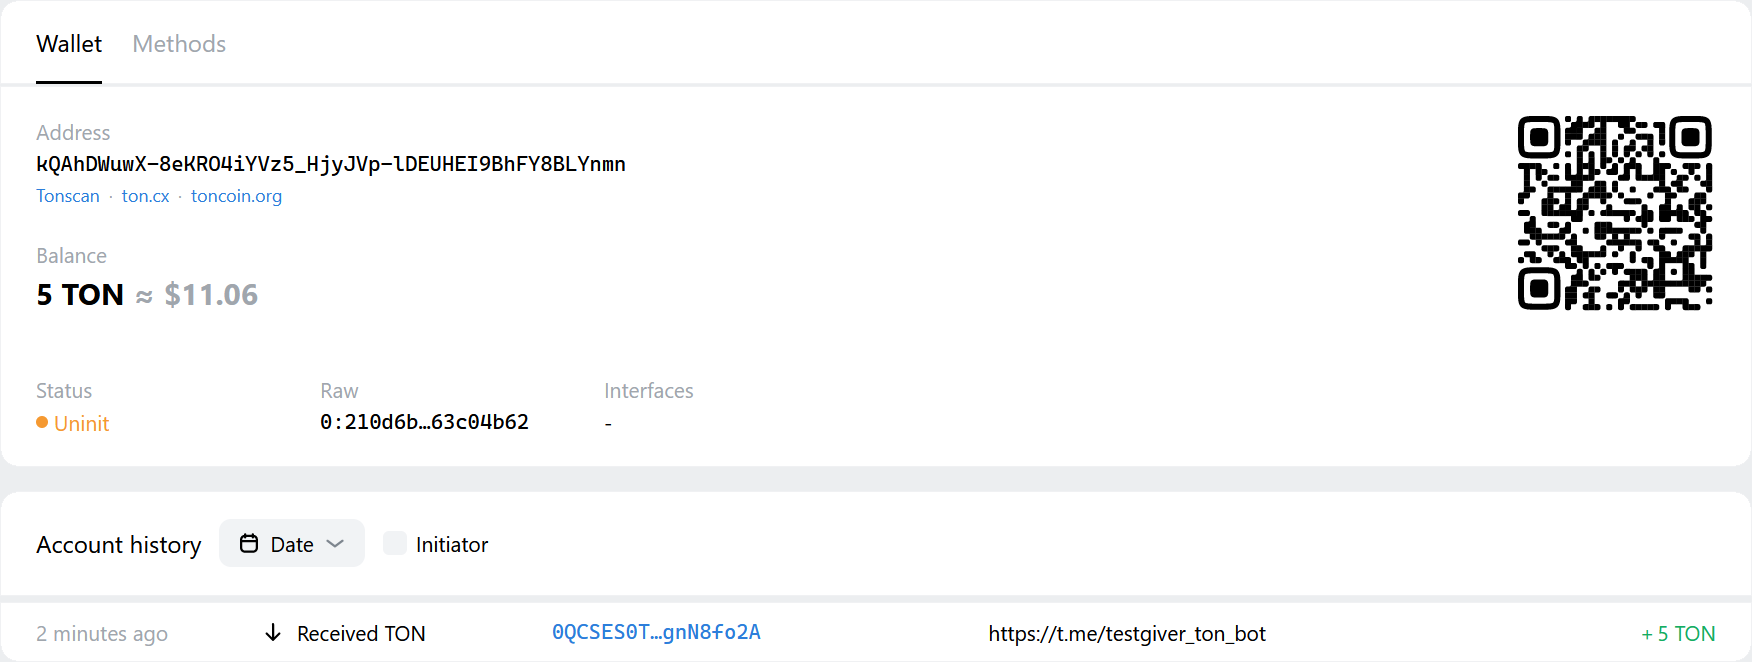
As you can see, the wallet has not actually been created yet. To finalize the creation, we need to deposit funds into it. In a real-world scenario, you can fund the wallet however you prefer using its address. In our case, we will use the Testgiver TON Bot. Open it to claim 5 test Toncoin.
A little later, you should see 5 TON in the wallet, and its status will change to uninit. The wallet is now ready. After the first transaction, its status will change to active.
Mint in-game currency
We are going to create an in-game currency to reward users.
assets-cli deploy-jetton
You will be asked a few questions during the setup:
| Field | Hint |
|---|---|
| Name | Token name, for example Flappy Jetton. |
| Description | Token description, for instance: A vibrant digital token from the Flappy Bird universe. |
| Image | Download the prepared jetton logo and specify the file path. Of course, you can use any image. |
| Symbol | FLAP or enter any abbreviation you want to use. |
| Decimals | How many zeros after the dot your currency will have. Let it be 0 in our case. |
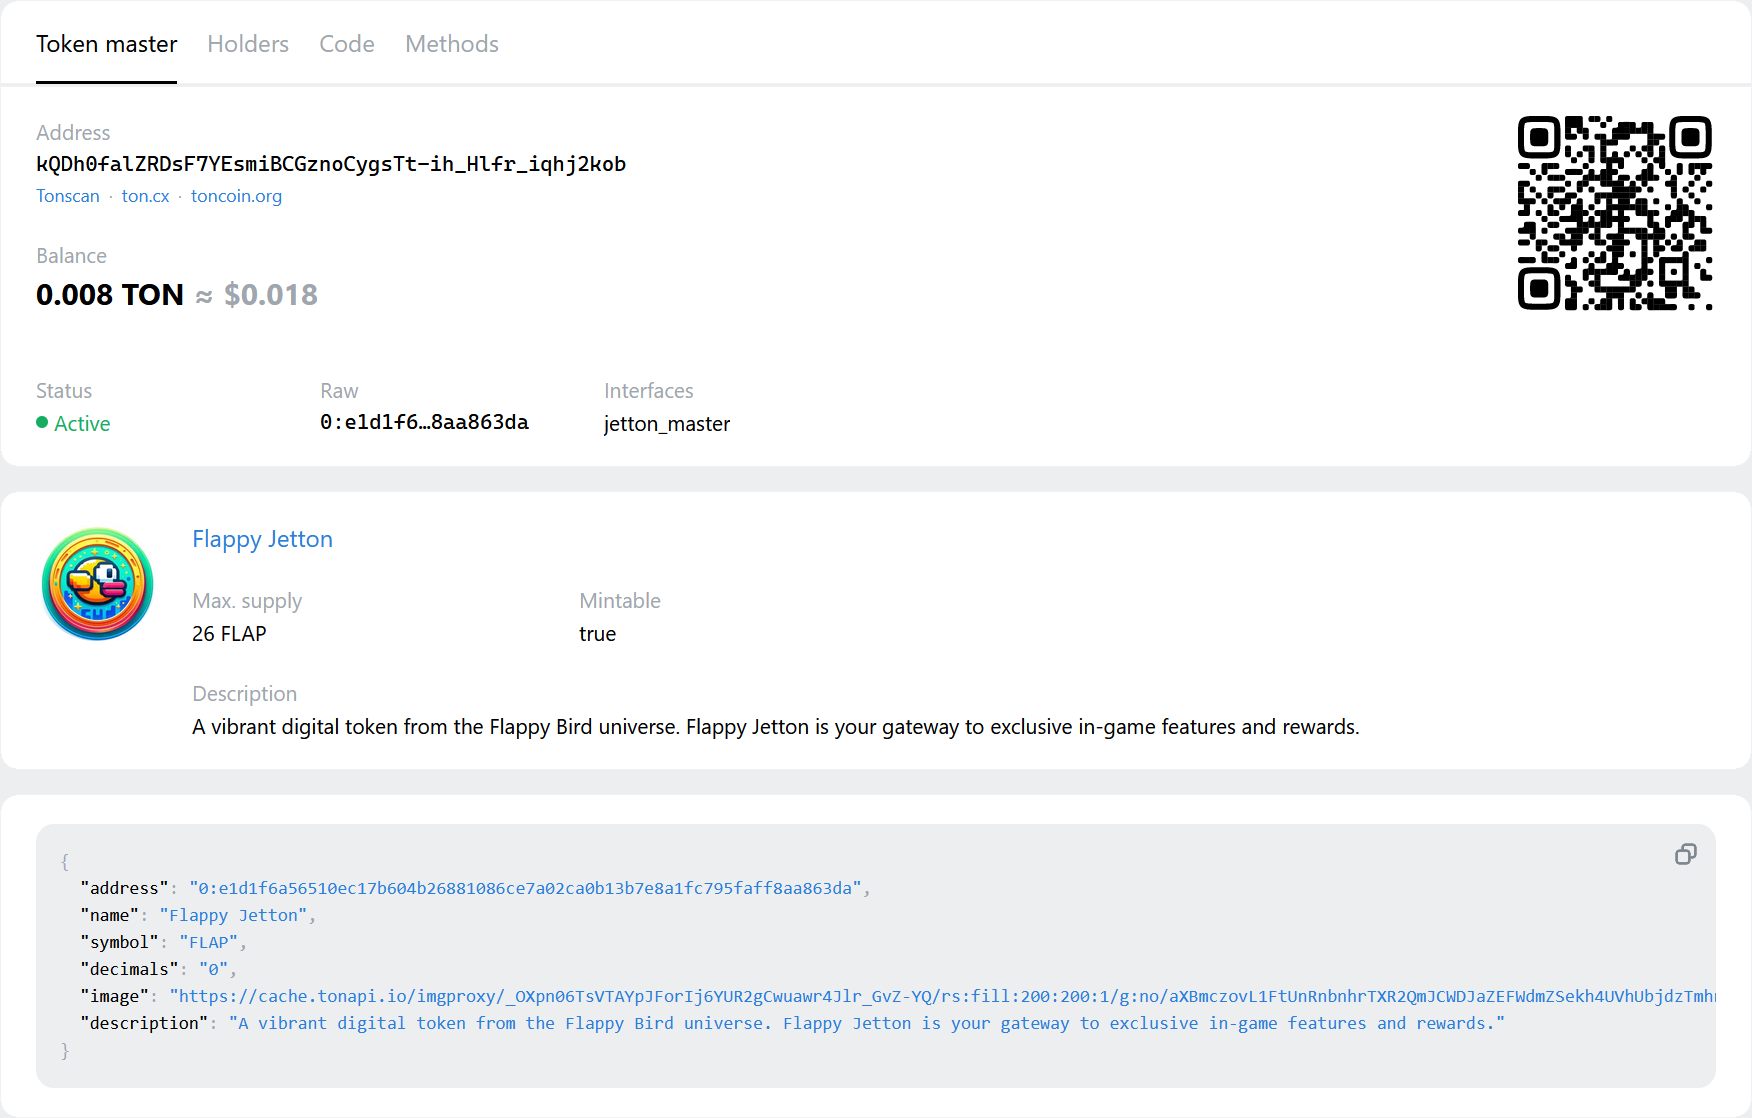
The script will output a link where you can view the created jetton's state. It will have an active status. The wallet’s status will change from uninit to active.
Create collections for SBTs
For our demo game, we will reward users after their first and fifth games. To do this, we will mint two collections, where SBTs will be assigned when users meet the required conditions—playing for the first and fifth time:
assets-cli deploy-nft-collection
| Field | First game | Fifth game |
|---|---|---|
| Type | sbt | sbt |
| Name | Flappy First Flight | Flappy High Fiver |
| Description | Commemorating your inaugural journey in the Flappy Bird game! | Celebrate your persistent play with the Flappy High Fiver SBT! |
| Image | You can download the image here | You can download the image here |
Now that we are fully prepared, let's proceed to implement the game logic.
Connecting wallet
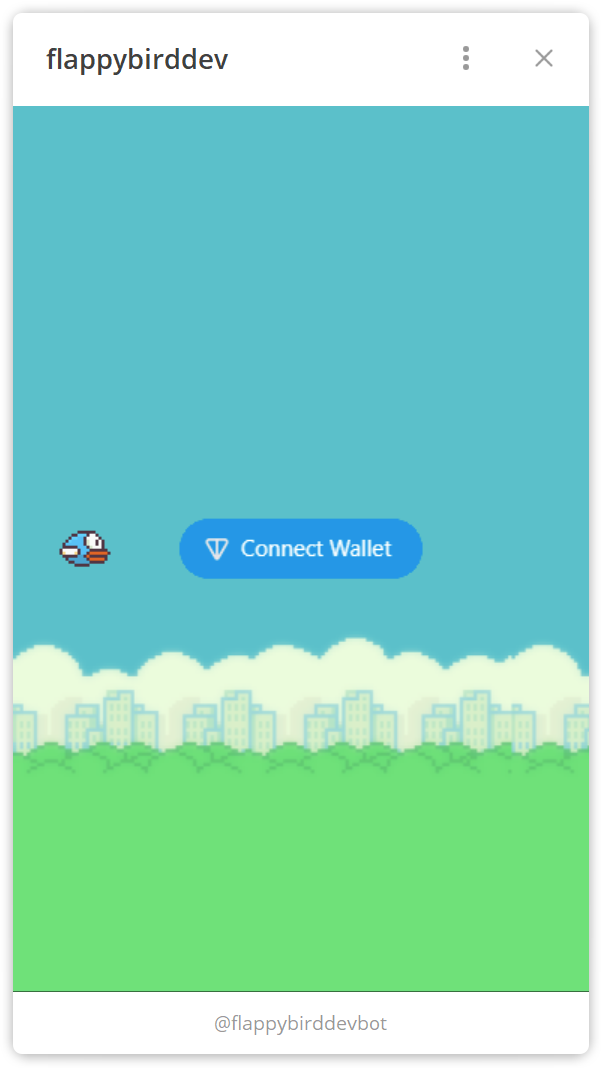
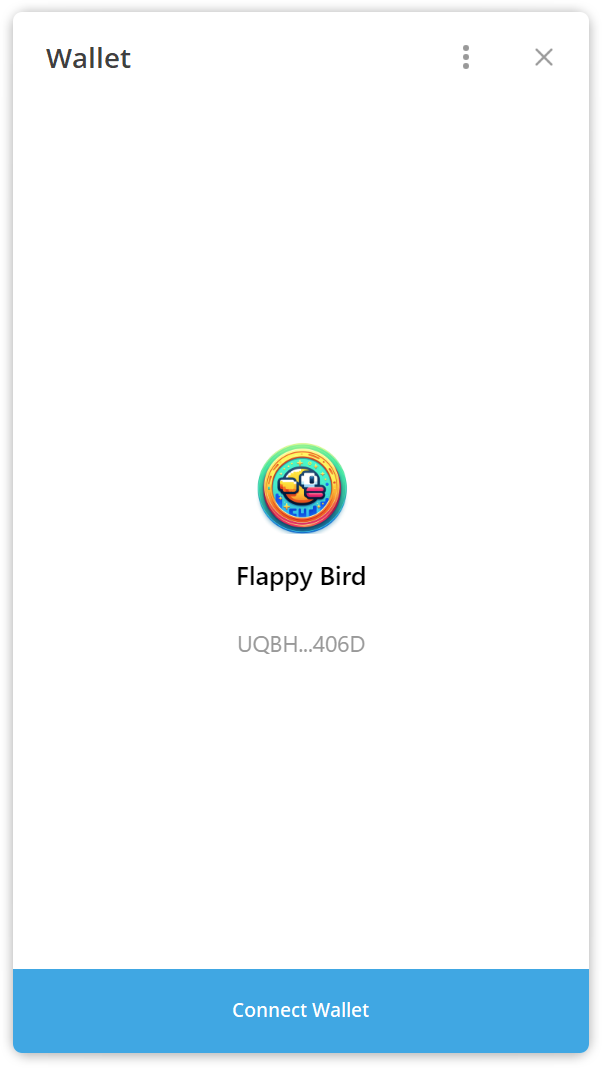
The process begins with the user connecting their wallet. Let's integrate wallet connectivity.
To interact with the blockchain from the client side, we need to install the GameFi SDK for Phaser:
npm install --save @ton/phaser-sdk@beta
Now, let's set up GameFi SDK and create an instance of it:
import { GameFi } from '@ton/phaser-sdk'

const gameFi = await GameFi.create({
    network: 'testnet'
    connector: {
        // if tonconnect-manifest.json is placed in the root you can skip this option
        manifestUrl: '/assets/tonconnect-manifest.json',
        actionsConfiguration: {
            // address of your Telegram Mini App to return to after the wallet is connected
            // url you provided to BothFather during the app creation process
            // to read more please read https://github.com/ton-community/flappy-bird#telegram-bot--telegram-web-app
            twaReturnUrl: URL_YOU_ASSIGNED_TO_YOUR_APP
        },
        contentResolver: {
            // some NFT marketplaces don't support CORS, so we need to use a proxy
            // you are able to use any format of the URL, %URL% will be replaced with the actual URL
            urlProxy: `${YOUR_BACKEND_URL}/${PROXY_URL}?url=%URL%`
        },
        // where in-game purchases come to
        merchant: {
            // in-game jetton purchases (FLAP)
            // use address you got running `assets-cli deploy-jetton`
            jettonAddress: FLAP_ADDRESS,
            // in-game TON purchases
            // use master wallet address you got running `assets-cli setup-env`
            tonAddress: MASTER_WALLET_ADDRESS
        }
    },

})
To learn more about initialization options please read the library documentation.
To learn what
tonconnect-manifest.jsonis please check ton-connect manifest description.
Next, we are ready to create a Wallet Connect button. Let’s create a UI scene in Phaser that will contain the Connect button:
class UiScene extends Phaser.Scene {
    // receive gameFi instance via constructor
    private gameFi: GameFi;

    create() {
        this.button = this.gameFi.createConnectButton({
            scene: this,
            // you can calculate the position for the button in your UI scene
            x: 0,
            y: 0,
            button: {
                onError: (error) => {
                    console.error(error)
                }
                // other options, read the docs
            }
        })
    }
}
Read how to create connect button and the UI scene.
To monitor when a user connects or disconnects their wallet, use the following code snippet:
function onWalletChange(wallet: Wallet | null) {
    if (wallet) {
        // wallet is ready to use
    } else {
        // wallet is disconnected
    }
}
const unsubscribe = gameFi.onWalletChange(onWalletChange)
To learn about more complex scenarios please check out the full implementation of wallet connect flow.
Learn how to manage the game UI.
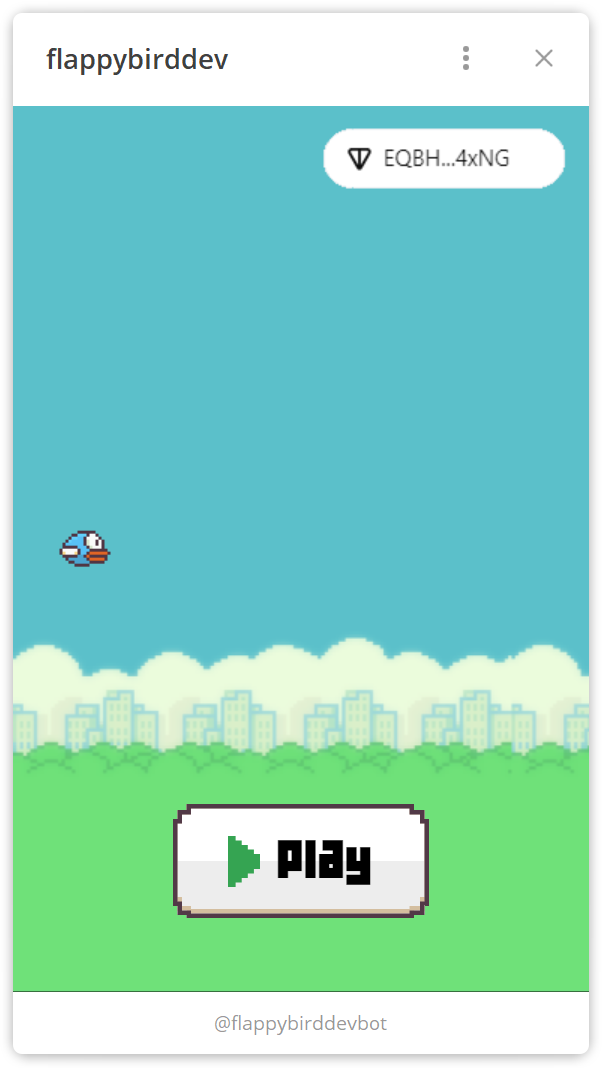
Now that we have the user's wallet connected, we can move forward.
Implementing achievements & rewards
To implement the achievements and reward system, we need to set up an endpoint that will be triggered each time a user plays.
/played endpoint
We need to create an endpoint /played which does the following:
- receives a request body containing the user’s wallet address and Telegram initial data, which is passed to the Mini App during launch. The initial data must be parsed to extract authentication details and verify that the user is sending the request on their own behalf.
- tracks and stores the number of games a user has played.
- checks whether this is the user’s first or fifth game. If so, it rewards the user with the corresponding SBT.
- rewards the user with 1 FLAP for each game played.
Read /played endpoint code.
Requesting the /played endpoint
Every time the bird hits a pipe or falls, the client code must call the /played endpoint, passing the correct request body:
async function submitPlayed(endpoint: string, walletAddress: string) {
    return await (await fetch(endpoint + '/played', {
        body: JSON.stringify({
            tg_data: (window as any).Telegram.WebApp.initData,
            wallet: walletAddress
        }),
        headers: {
            'content-type': 'application/json'
        },
        method: 'POST'
    })).json()
}

const playedInfo = await submitPlayed('http://localhost:3001', wallet.account.address);
Note: The examples use different localhost ports for separate services—
/playedon3001and/purchaseson3000. Note: The/playedendpoint expects Telegram initial data in the request body astg_data, while/purchasesexpects it as anauthquery parameter.
Read submitPlayed function code.
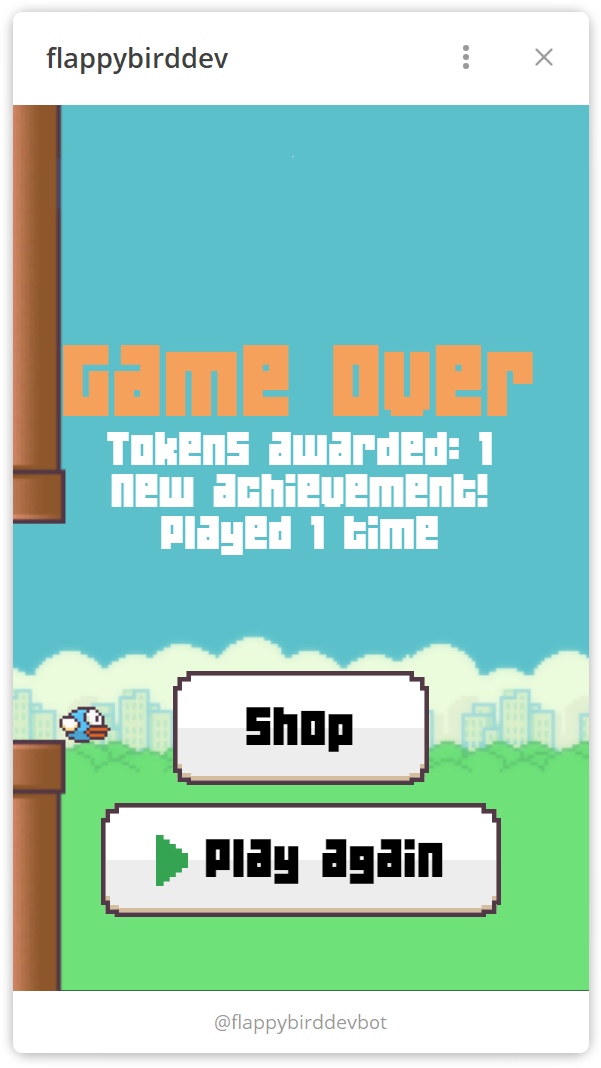
Let’s play for the first time and ensure we receive a FLAP token and an SBT. Click the Play button, fly through a pipe or two, then crash into a pipe. Everything works!
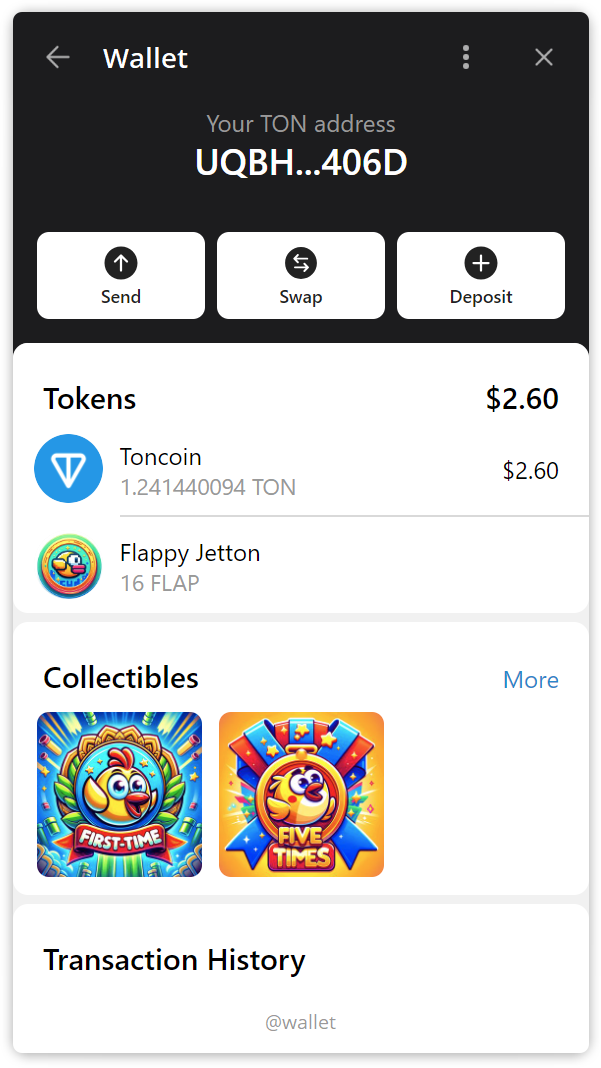
Play four more times to earn the second SBT, then open your TON Space Wallet. Here are your collectibles:
Implementing the game shop
To set up an in-game shop, we need two components. The first is an endpoint that provides information about users' purchases. The second is a global loop that monitors user transactions and assigns game properties to item owners.
/purchases endpoint
The endpoint does the following:
- receives the
authquery parameter containing Telegram Mini App initial data. - retrieves the items a user has purchased and responds with a list of those items.
Read /purchases endpoint code.
Purchases loop
To track user payments, we need to monitor transactions in the master wallet. Each transaction must include a message in the format userId:itemId. We will store the last processed transaction, retrieve only new ones, assign purchased properties to users based on userId and itemId, and update the last transaction hash. This process will run in an infinite loop.
Read the purchase loop code.
Client-side for the shop
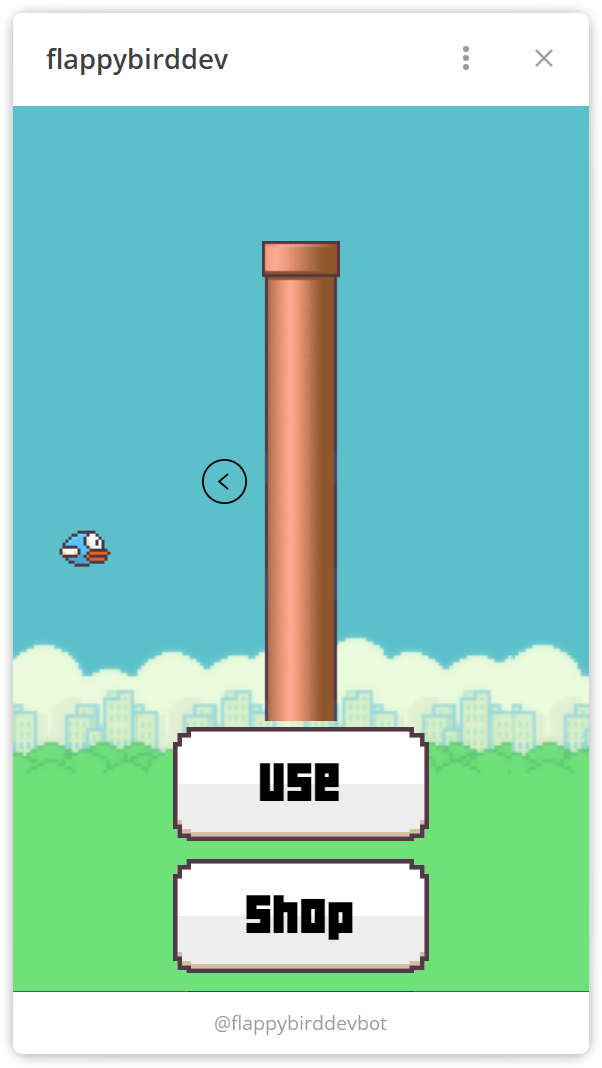
On the client side, we have a Shop button.
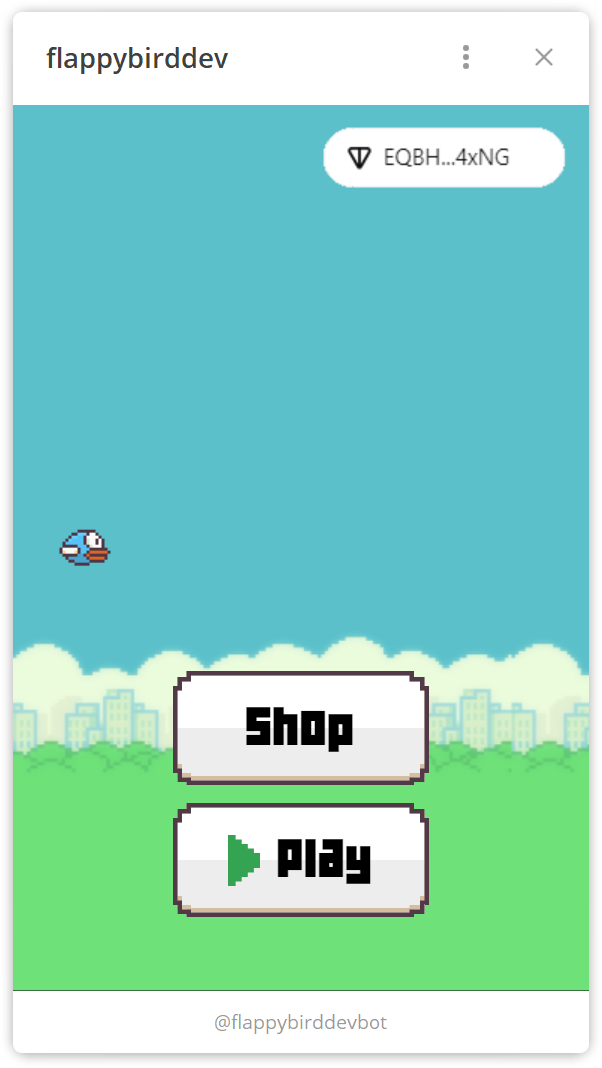
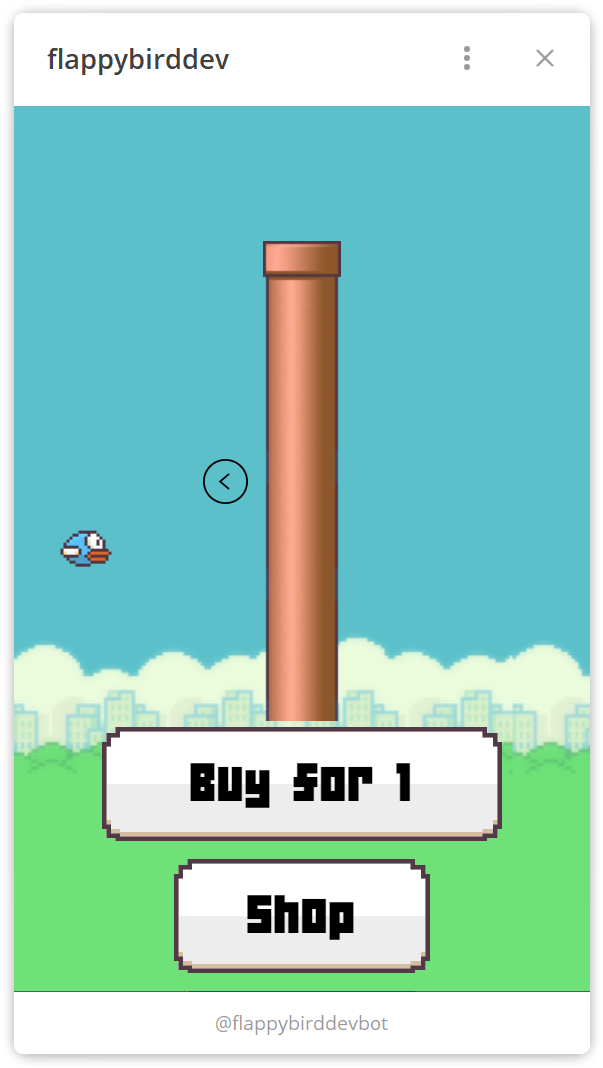
When a user clicks this button, the Shop Scene opens. The shop contains a list of items available for purchase. Each item has a price and a Buy button. When a user clicks the Buy button, the purchase is processed.
Opening the Shop Scene will trigger the loading of purchased items and refresh the list every 10 seconds.
// inside of fetchPurchases function
await fetch('http://localhost:3000/purchases?auth=' + encodeURIComponent((window as any).Telegram.WebApp.initData))
// watch for purchases
setTimeout(() => { fetchPurchases() }, 10000)
Read showShop function code.
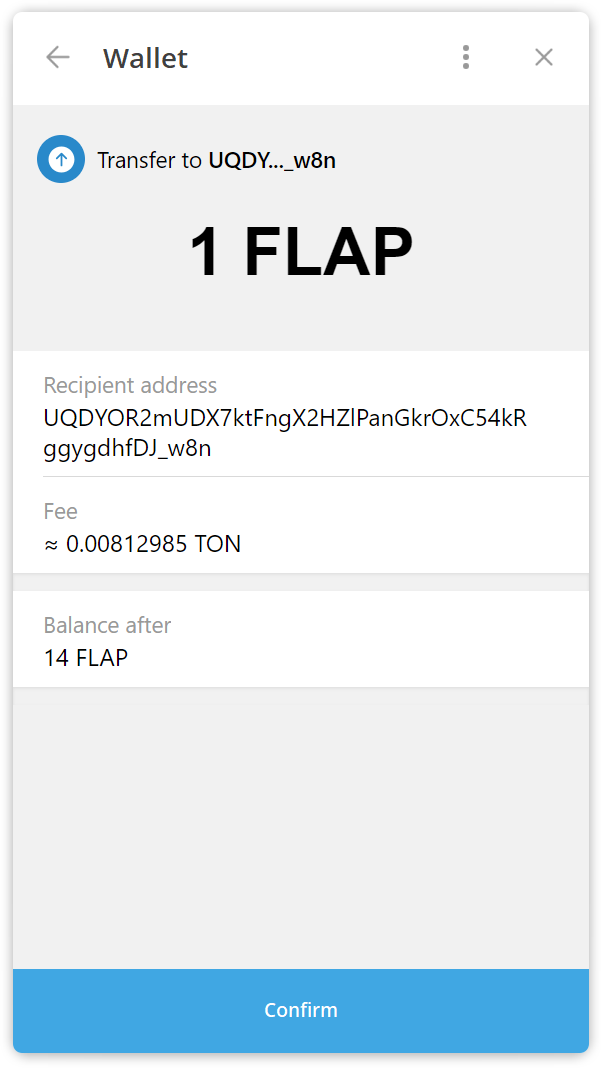
Now, we need to implement the purchase process. To do this, we will first create a GameFi SDK instance and then use the buyWithJetton method:
gameFi.buyWithJetton({
    amount: BigInt(price),
    forwardAmount: BigInt(1),
    forwardPayload: (window as any).Telegram.WebApp.initDataUnsafe.user.id + ':' + itemId
});
It is also possible to pay with Toncoin:
import { toNano } from '@ton/phaser-sdk'

gameFi.buyWithTon({
    amount: toNano(0.5),
    comment: (window as any).Telegram.WebApp.initDataUnsafe.user.id + ':' + 1
});
Afterword
That’s it for this tutorial! We explored the basic GameFi features, but the SDK offers additional functionality, such as player-to-player transfers and utilities for working with NFTs and collections. More features will be introduced in the future.
To learn about all available GameFi features, read the documentation for ton-org/game-engines-sdk and @ton-community/assets-sdk.
Let us know your thoughts in Discussions!
The complete implementation is available in the flappy-bird repository.